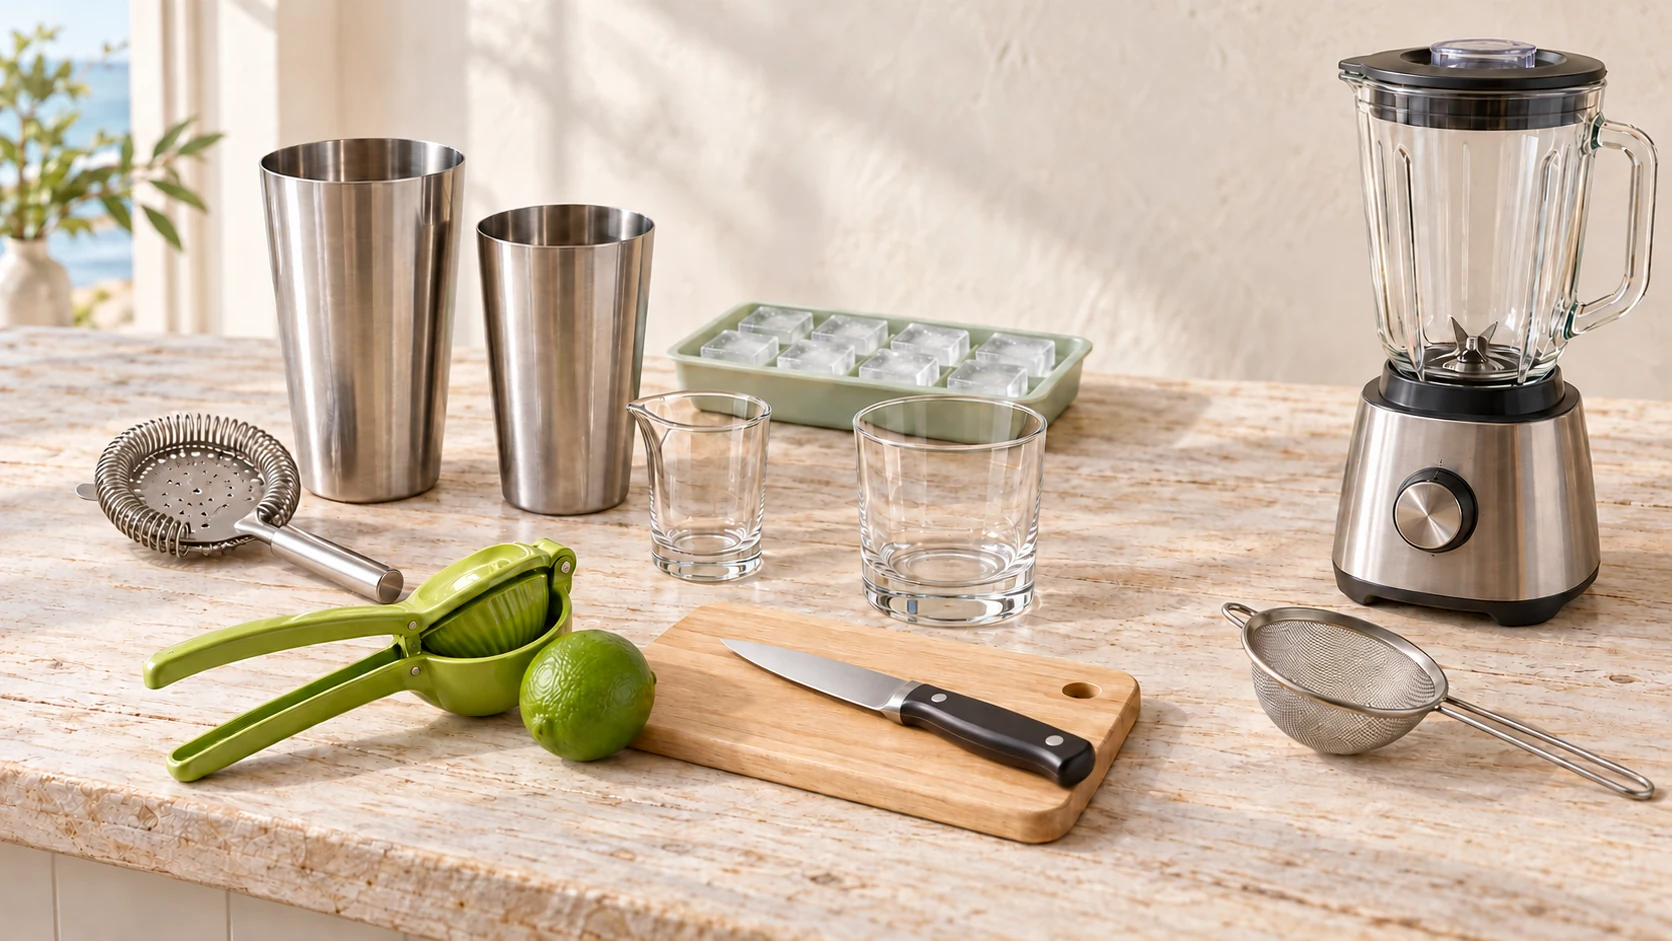
A useful margarita setup can fit in a small corner of your kitchen. For a shaken drink, start with a shaker, a way to strain, a measure marked in mL, and a way to prepare citrus. Add ice and a suitable glass. You may already own the cutting board, knife and other basics.
Specialty tools earn their place when they solve a particular problem. A blender matters for frozen margaritas; a garnish pick rarely matters to the drink itself. Here’s how to put together a practical kit without turning your counter into a barware showroom.
Start with the jobs every shaken margarita needs
Measure: a jigger or small liquid measure
Choose a measure with clear mL markings that match the quantities in your recipe. Check both the full capacity and any internal lines. The shape of a jigger does not tell you what either side holds.
A small graduated liquid measure can do the same job if it clearly marks the amounts you need. Use the marked line rather than guessing where “half full” falls. Measure the lime juice and sweetener as carefully as the spirits; each contributes to the balance.
For a repeatable pouring routine, see our guide to measuring margarita ingredients consistently.
Mix: a shaker you can handle comfortably
A Boston shaker has two pieces: a large metal tin paired with a smaller tin or a compatible shaking glass. A tin-on-tin set avoids the glass component. Use pieces designed to fit together, rather than pairing a tin with an arbitrary drinking glass.
A cobbler shaker has three pieces: the main body, a top with a built-in strainer, and a cap. Its built-in strainer means you usually don’t need a separate Hawthorne strainer.
Either style can serve a home margarita station. Consider how securely you can grip it, how it opens, whether the parts fit, and how it should be cleaned. A larger advertised capacity also needs room for ice and movement; it is not a target amount of cocktail to pour.
Strain: match the tool to the shaker
With a Boston shaker, a Hawthorne strainer is a practical match. Its spring-edged plate sits over the tin and holds back the main ice and larger solids as you pour. Check that the strainer fits your particular tin.
A fine-mesh strainer does a different job. Held below the main strainer, it catches smaller ice chips, pulp and bits of muddled ingredients. This extra pass is called double-straining. Add it if you prefer that texture; a simple shaken margarita does not require it.
Prepare citrus: use the kitchen tools you have
A handheld press or a citrus reamer makes juicing convenient, but you can also squeeze citrus by hand. Choose a tool that suits the fruit you use and is easy to clean. Remove seeds, then measure the juice; a recipe quantity is more useful than assuming every lime yields the same amount.
Keep a stable cutting board and a suitable knife nearby for citrus and garnishes. FDA produce guidance recommends washing fruit under running water before cutting or peeling it. Skip soap and produce detergent.
Serve: one glass that fits the drink
For a margarita served “up,” meaning strained into a glass without serving ice, use a chilled cocktail glass. This is the approach in the International Bartenders Association’s margarita method. For a drink on the rocks, choose a glass with room for both the drink and ice.
A familiar flared margarita glass is optional. A suitable coupe or rocks glass may already be in your cupboard. Leave comfortable space below the rim rather than changing the recipe to fill a larger glass.
Ice belongs in the plan
Shaking with ice mixes and chills the drink while some ice melts into it. That added water is part of the finished margarita. The goal is a balanced, cold drink, not the least possible dilution.
Ordinary freezer cubes are a practical starting point. Large cubes do not automatically mean less dilution during shaking. In Dave Arnold’s shaking experiments, enough ice and vigorous shaking produced similar final temperatures and dilution across the ice types tested. Ice quantity, starting conditions and excess surface water still matter.
Keep your ice and preparation method consistent when comparing drinks. Follow the recipe’s instructions for shaking and serving instead of treating one ice shape as a shortcut.
A large-cube tray or a clear-ice system is an optional addition for presentation and a particular serving style. Clarity alone is not a promise of slower melting or a better margarita. Check that a serving cube fits the glass before planning around it.
Add these tools when your margaritas call for them
Muddler: for recipes using fruit or herbs
A muddler presses ingredients in the mixing vessel. Manufacturers such as OXO describe it as a tool for gently working fruit and herbs. It is useful when the recipe calls for muddling; it adds no necessary step to a straightforward lime margarita.
Follow the recipe’s method rather than crushing everything with the same force. If the finished drink contains small pieces you would rather leave behind, the fine-mesh strainer can help.
Bar spoon: useful reach, optional purchase
A long spoon is handy for stirring a pitcher or reaching into a tall mixing vessel. An ordinary kitchen spoon may cover those jobs at home. For a shaken margarita, follow the shaking method; a twisted spoon handle is not a device for controlling dilution.
Blender: for frozen margaritas
A blender becomes relevant when you want a frozen drink. Check that the specific model and container are intended for ice, and follow their loading, fill and operating instructions. A wattage headline alone does not tell you how to use it.
Loading order can even change between containers from the same maker: Vitamix documents opposite loading sequences for two container types. Use a frozen-margarita recipe suited to your equipment rather than improvising around a stalled blend.
Salt-rim setup: a small plate usually covers it
A dedicated margarita rimmer offers a place for salt and rim-moistening ingredients. At home, a small plate wide enough for the glass can hold the salt. Choose a full rim, half rim or no rim according to your preference.
Salt is an optional ingredient, rather than a piece of equipment. There is no need to label one grain size the universal choice. Start with a light coating and choose a texture you enjoy.
Cocktail picks: a finishing detail
Picks can hold garnishes together or make them easier to retrieve. Add them when the garnish needs that support. A simple lime wedge on the rim needs no special hardware.
Put the station together before you shake
- Read the recipe and set out the measure, shaker and matching strainer.
- Wash and prepare the citrus, then measure the required juice.
- Choose the serving glass and prepare any optional rim or garnish.
- Have the recipe’s shaking ice and any serving ice ready.
- Mix and serve as directed, then clean each tool according to its care instructions.
Before adding anything to your kit, set out what you already own and identify one job it cannot comfortably do. Fill that gap first. The most useful margarita station is one you understand and enjoy using.